
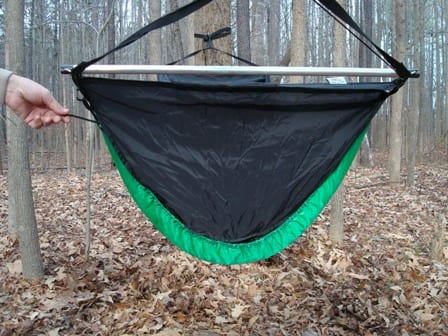
Installing your hammock underquilt for the first time is best done in the backyard with the help of a friend. Have one person get in the hammock and the other check for air gaps and proper loft. The goal in attaching the underquilt is to have it suspended beneath the hammock with no (or minimal) air gap between the hammock and the quilt AND minimal tension on the underquilt. Tension on the underquilt reduces the loft resulting in cold spots. Place one hand between the underquilt and hammock to check for air gaps. Once the underquilt is suspended so that any air gaps have been eliminated, using the other hand on the outside of the underquilt check for full loft. If using a gathered end hammock, make adjustments in the suspension lines in small increments (1/2 inch increments) first on one end and then the other until the underquilt is properly suspended with no air gaps and maximum loft. Once set, leave the suspension system in place so that the next time all you have to do is connect the corners of the underquilt, draw the end cords, and make fine-tuning adjustments. If using a Bear Mountain Bridge Hammock the only adjustment necessary is to tighten or loosen the end cords.
Gathered End Hammocks
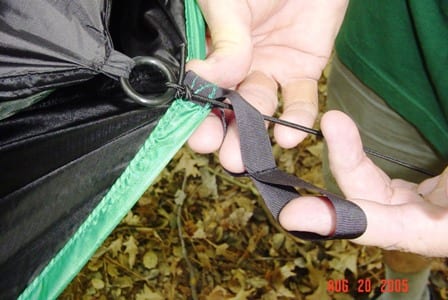
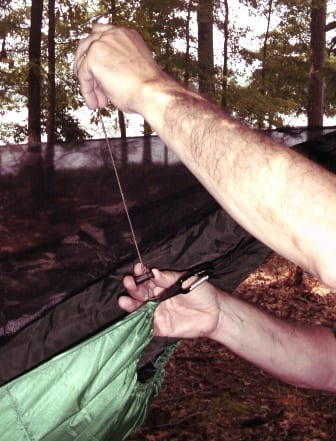
- Fold the suspension cord in half and attach to the hammock suspension line about 6 inches from the end of the hammock.
- Loop the suspension cord around the hammock suspension line near the end of the hammock as shown in the picture.
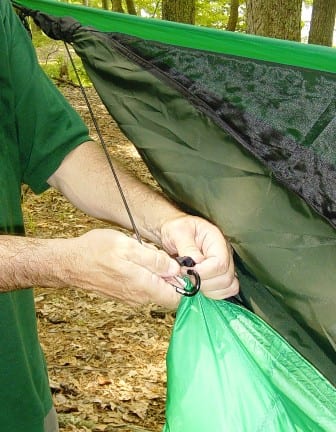
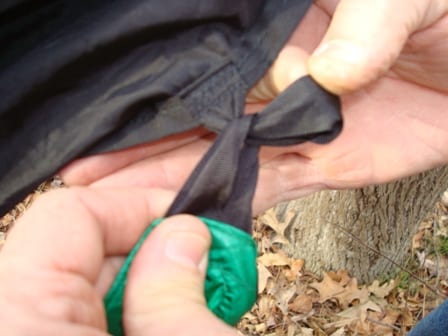
- The under quilt attaches colored side out – black side against the hammock. Attach the micro-carabiners to each corner loop of the quilt. If using a Hennessy hammock and the Nest Under quilt, align the quilt slit to match up with the entrance slit on the hammock.
- If your under quilt has the foot end, center pull, draw cord modification, using the center pull draw cord, pull the cord from the center and attach the micro-biner to the suspension cords at the secondary hitch, where they loop around the hammock suspension cord at the end of the hammock.
- If using a Hennessy hammock, pass the asymmetric corner tie-outs of the hammock through the loops on the side of the quilt. If you stake the corner: tie-out to the ground, use the inner loop; if you tie-out to the tarp corner or a tree closer to the horizontal: use the outer loop. On cold nights don’t stake the a-symmetric corners at all. Instead let the hammock and quilt envelop your body for additional warmth.
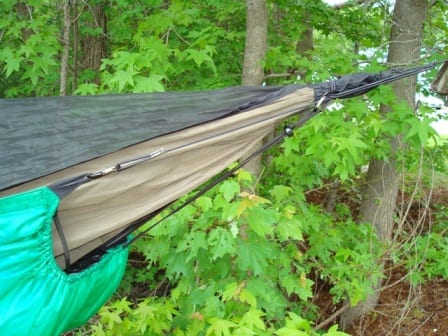
- Adjust the length of the suspension cords so that the quilt is suspended beneath the hammock with little or no air gap but loosely enough to achieve full loft. Shorten or lengthen the cords to the correct length by tightening or loosening the loop near the end of the hammock. Make the adjustments in ½ inch increments on each end. Repeat as necessary. This step is best performed with someone in the hammock. Place one hand between the quilt and hammock to check for air gaps. Using the other hand on the outside of the quilt check for full loft.
- If using a Hennessy hammock and the Nest Under Quilt, attach the velcro of the quilt slit to the velcro on the hammock slit. If you experience a draft from the entrance slit, insure the quilt is not caught in the slit creating the draft. If that doesn’t take care of the draft, partially seal the two legs of the quilt together to close off the slit and block the draft. Sealing several inches of the Omni-Tape down from the crotch is usually sufficient.
- Pull draw cords at each end of the quilt to draw the quilt up to hammock. On warm nights, loosen the drawstrings (partially or all the way) to allow some airflow beneath the head and torso area or the foot and leg area.
Bear Mountain Bridge Hammock
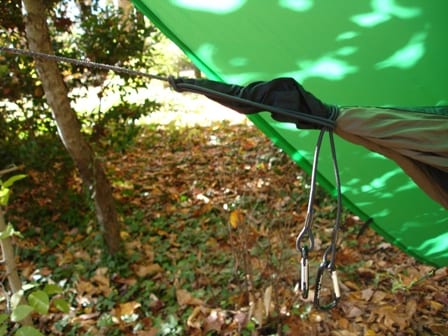
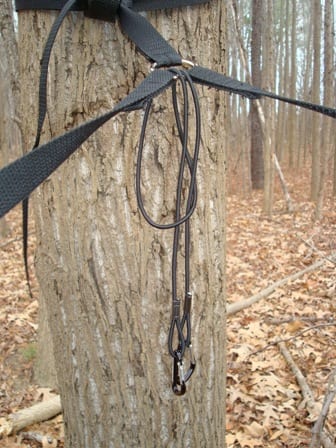
- Fold the suspension cord in half. Pass the folded end through the outermost ring of the hammock suspension strap and drop both micro-biner ends through the loop. Cinch tight forming a girth hitch on the ring.
- Pass one of the micro-biners through one of the corner rings on the hammock and the other micro-biner through the opposite corner ring.
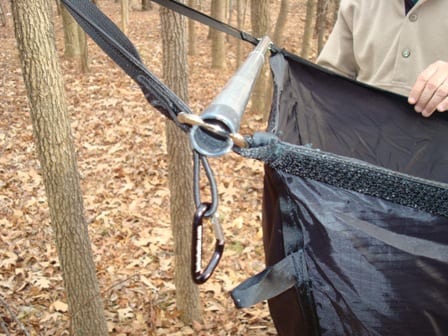
- Pass the grosgrain ribbon corner loop on the hammock through the corner loop on the quilt.
- Attach the corresponding micro-biner to the grosgrain ribbon loop of the hammock.
- Draw the end cord about 4 inches or until the end hem on the quilt matches the end seam of the hammock.